
Backing up ZFS at home
This post covers why backups are important, and provides some tools and strategies specifically targeted at homelab users, where cost and simplicity are the key driving factors.
Why backups are important

In a homelab it can be daunting to set up backups when you make the assumption that ALL data needs to be backed up equally.
The total amount of bulk storage needed is easy to calculate since it's whatever data we currently have, plus a predicted growth over the life of the hardware (around 5 years for HDDs), then multiplied by whatever parity factor is cost effective given the available media at the time.
This makes it really easy to buy A LOT of storage and to start filling it with junk, since it feels near limitless.
The problem is no allowance is made for what happens as you close in on that 5 year mark. By then, it's likely you'll be affected by one of the following well known storage issues:
- Bit rot leading to excessive error rates
- AFR% increases with time, e.g. a second drive will fail during a single parity rebuild if all of the drives are the same age.
- Accidentally wiping the whole thing because you're an idiot
Bit rot is something I have experienced first hand.
Before using ZFS I used an iSCSI SAN made by Promise, with 12 x 1TB disks in RAID6. While it was capable of surviving disk failures, the filesystem was a single NTFS partition. NTFS has absolutely no file integrity and many files I still have from that set up have random defects, and there's nothing you can do once it happens, even if you have backups.
At this point, there's a good chance that trying to transfer the data to a new pool will result in errors and even lost data. Even if your hardware is brand new, there's always the possibility of making mistakes or just being really unlucky.
ZFS native backups
The good news is ZFS solves the issues with data integrity, and makes it extremely easy to realize a solid backup solution, with both snapshots and the ability to transfer the entire filesystem using send and receive commands. I will also demonstrate how to organize your datasets in a way that is better suited for incremental snapshots, reducing the total amount of storage and money needed to get going.
Organizing
Below is an example of how you could organize your datasets based on their importance and rate of churn.
The general idea is that datasets should contain either a large volume of data, or data that changes often, but not both at the same time. Otherwise the delta between the first and last snapshot can grow to an unreasonable size.
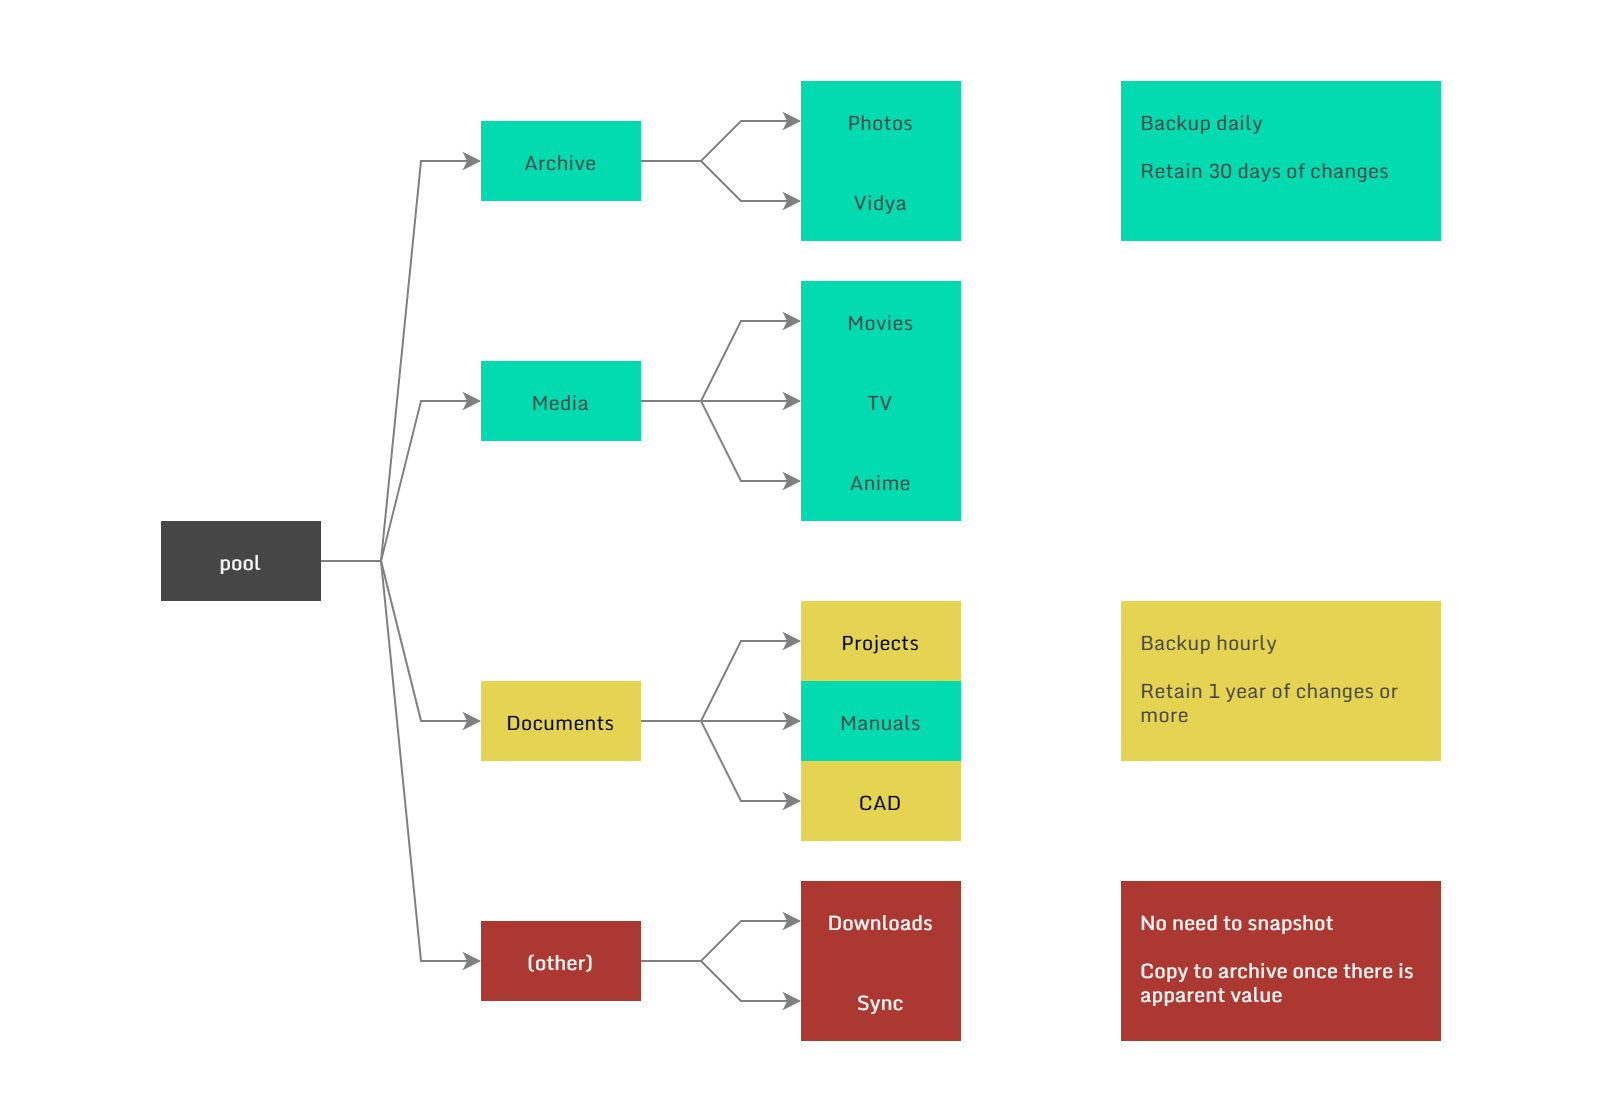
Examples:
Photos that you've taken and edited go into a dedicated Photos dataset, and while the volume of data can be many terabytes, the rate of churn is small as the existing images are never changed, only added to.
Project files and documentation on the other hand might change dozens of times per day, yet only occupy a few gigabytes, so keeping daily or even hourly snapshots hardly consumes any space at all.
Additionally, things like codebases should not live directly in the snapshot tree. Instead keep your working copy on local NVMe storage and use a tool to periodically sync the latest clean copy to the NAS. Or use a 3rd party service like github and push often.
Backup only what you need
If you download a lot of movies, store these in a general purpose Downloads dataset. Once you've watched the movie and decide it's worth keeping, only then move it to a permanent area.
The same idea can be applied to photos on your phone. I use Syncthing to copy everything on the phone to the NAS, then maybe once a month, go through and cherry pick what's really worth keeping.
Choose the right hardware
Doing the above should have significantly reduced your storage requirements, now consider what you actually need for the backup target.
Let's say you built a RAID-Z1 pool with 20TB of usable capacity, but you're only using 5TB, how large do you expect that to grow? Most likely a pair of 10TB drives in a mirror will be sufficient for a very long time, and if you do run out of space, ZFS allows you to expand the pool by adding another 10TB mirror at any time.
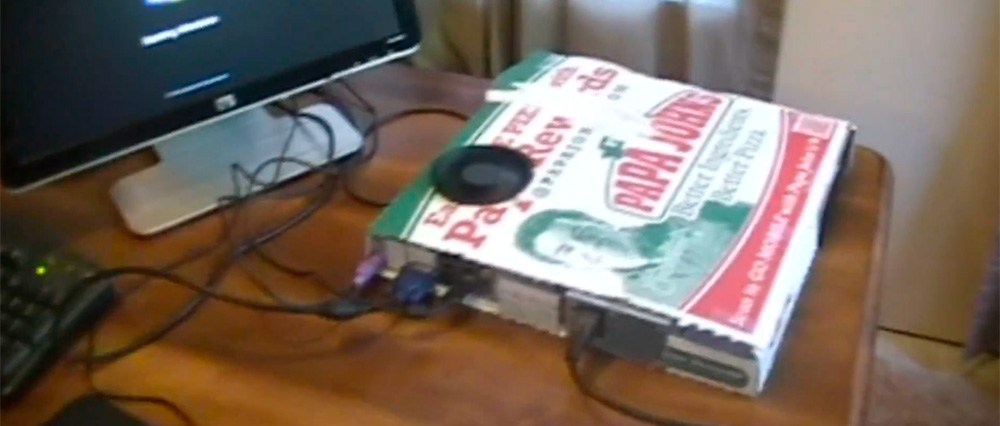
The quality of the hardware also doesn't need to be very high either. Just use whatever you have or can get cheaply since the only important component is the storage. Here is my current setup:
| Item | Cost |
|---|---|
| Old desktop PC from work | $0 |
| 16GB DDR4 memory (new) | $64 |
| 24TB (ST24000DM001) drives x2 | $860 |
And yeah the cost of everything is kind of crazy at the moment, but it's still doable.
If you're wondering what software stack to use for such a simple system, it's best to stick with what you are already using on your NAS, or check out Neil Panchal's article on a minimal ZFS install.
Tools for automating backups
Syncthing
Syncthing can run on most platforms and is very easy to use, it is not a backup solution in itself but allows you to get files off phones, laptops or other edge devices and on to your NAS. Used in conjunction with snapshots it is a very powerful way of ensuring no data goes missing.
ZFS autobackup
ZFS autobackup is a cross platform utility that allows you to automatically manage snapshotting, thinning and ZFS send receive operations between targets.
To deploy you need to decide if you're going to operate it in pull or push mode. Personally I prefer pull mode as you can centrally manage all of the backups from multiple sources. And since zfs-autobackup is only a script, not a full daemon, you'll need to use cron or systemd to invoke it on schedule.
In order to select which dataset to work on zfs-autobackup uses a property starting with autobackup:*, replace the asterisk with a tag to indicate which worker will deal with that dataset:
zfs set autobackup:daily=true tank/Archive
zfs set autobackup:daily=true tank/Media
zfs set autobackup:hourly=true tank/Documents
zfs set autobackup:daily-remote=true tank/Documents
You can set multiple properties on the same dataset for multiple backup destinations. And set a thinning strategy that makes sense for your dataset, the default is 10,1d1w,1w1m,1m1y which means keep at most 10 snapshots starting at a granularity of 1 day, and up to 1 year. Of course you can choose to have different schedules with the --keep-source and --keep-target flags.
I like to keep the oldest snapshot limited to 30 days for large volume datasets, this way if you need to replace or reorganize files in a way that ZFS cannot create an sparse incremental change from, you aren't wasting a huge amount of space.
Backup system 1:
30 10 * * * zfs-autobackup -v \
    --ssh-source 10.0.32.4 --keep-source=10,1d1w,1w1m --keep-target=10,1d1w,1w1m --clear-mountpoint \
    daily autobackup/jupiter &> /var/log/autobackup-daily.log
30 * * * * zfs-autobackup -v \
    --ssh-source 10.0.32.4 --keep-source=390,1h1d,1d1y --keep-target=390,1h1d,1d1y --clear-mountpoint \
    hourly autobackup/jupiter &> /var/log/autobackup-hourly.log
Backup system 2:
30 10 * * * zfs-autobackup -v \
    --ssh-source 10.0.32.4 --keep-source=0 --keep-target=10,1d1w,1w1m --clear-mountpoint \
    daily-remote autobackup/jupiter &> /var/log/autobackup-daily.log
Conclusion
Hopefully this makes adding a proper backup solution feel more approachable — you don't need to spend a lot of money to make it happen. And the benefits of having them cannot be overstated.
Did you know: Browsing to
/path/with/files/.zfs/snapshot/will allow you to browse all of the snapshots for a given dataset, it even works over NFS and SMB (¬‿¬)